 Canva is one of the best tools when it comes to designing social media graphics. It simplifies the entire process, making it easy for anyone to create stunning social media graphics.
However, creating awesome social media graphics in Canva can also prove to be a time-consuming process, especially if you are not used to it. Fortunately, we have some very actionable tips and tricks that you can implement to accelerate your workflow and speed things up.
In today’s article, we will show you five measures that you can implement to save time when designing social media graphics on Canva. And with that said, let’s get straight into it.
Table of Contents
Use Professionally Designed Templates
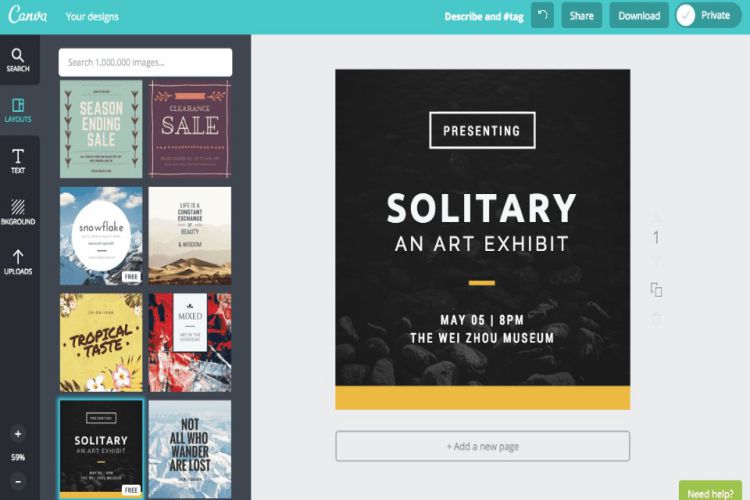
Designing social media templates from scratch can be a tedious, time-consuming, and long process. First, you will have to browse through the hundreds of templates on the platform, trying to choose one that you can work with.
Once you’ve settled on your preferred template, you will then begin the design process. And if you don’t have a background in design, it’s not a surprise to find yourself spending hours on end working on a single graphic as you second-guess every move.
And this is where the professionally-designed social media templates from ContentBASE come in. These templates are specifically designed for different fields like fitness, fashion, real estate, consultancy, restaurants, and e-commerce among others.
You simply need to purchase the templates that align with your niche and download them to your device. From there, you just need to add a few touches here and there by adding your colors, photos, logo, and fonts to make them your own.
These professionally-designed and ready-to-use social media templates will cut down the amount of time you would have spent creating social media graphics on Instagram by more than half.
Keep Brand Elements Close
Whether you are using ready-made social media templates or designing your templates from scratch in Canva, you will need to add various elements of your brand into your graphics. These include things like your brand’s colors, fonts, logos, and other visual elements.
And, it will be highly advisable to keep these elements together and in one place. This way, you will be able to grab them as fast as you can. Canva premium allows users to create a unique brand kit, featuring various brand elements.
However, if you don’t have plans of upgrading to premium, then you can simply store them somewhere else. For instance, you can store them in Google Drive, in a local folder, or even on Trello.
Group Elements
You may sometimes want to work on multiple elements at the same time. For instance, you may be creating graphics for two separate social media marketing campaigns.
And resizing or moving each of these elements around separately can be extremely time-consuming. To save yourself time and effort, you should consider grouping elements for each of the two campaigns.
Once you group similar elements, they will stick together, meaning you can move them around, resize or undertake other changes at the same time. You just need to select the elements you want to group, click ‘group’ in the toolbar and you will be set.
Create Canva Folders for Different Projects
This feature will come in handy when you are working with multiple campaigns or creating design elements for two different brands. To save time and effort, you should create a folder for every project that you are working on. By doing so, you will eliminate the confusion and time wastage that may occur when you’ve stored everything together.
To create folders on Canva, you just need to click ‘all my folders’ and then create a folder there. But, there’s a quicker and faster way. Whenever you hover over a design, you will notice three dots appearing at the top right. You will then click ‘move to folder’ and follow the instructions.
Copy Page
This is yet another hack, which can save you a great deal of time when designing social media graphics on Canva. After you’ve finished creating a design on Canva and you are happy with the results, you should click the duplicate button right above your design.
After clicking the duplicate button, it will create a copy immediately under your first graphic. You can then make a few edits to the second graphic by adding a different image or changing where to place the font. And, you will have a new graphic ready, within a minute or so as opposed to creating one from scratch.
In Summary
There you have it, effective and actionable tips that will help you to get your Canva designs done within half the time. And, we hope that you will find these time-saving tips helpful.


