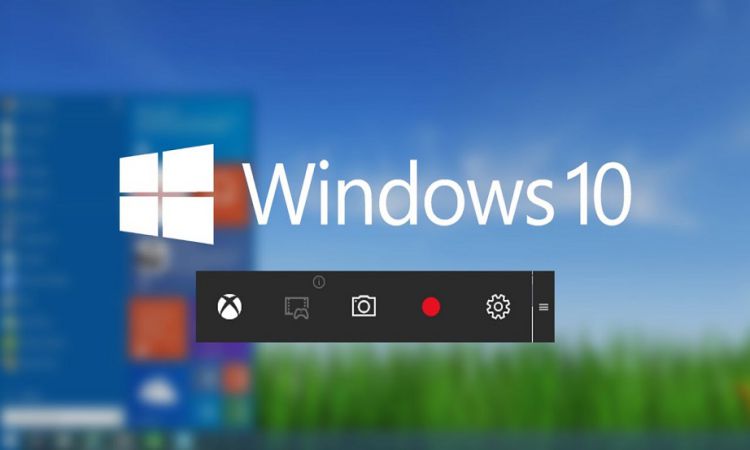
 Video is worth a million words if an image is worth a thousand words. You may use screen recording in Windows to demonstrate how to record zoom meeting or to show off your gaming prowess.
Table of Contents
Windows 10’s built-in screen-recording feature
The first step is to open the app that you want to record. Unfortunately, the screen recorder tool is unable to capture specific programs, such as File Manager, or the complete desktop, but it does function with ordinary desktop applications (and those from the Windows Store).
To enter the Game Bar dialog, press the Windows key + G at the same time.
To bring up the Game Bar, choose “Yes, this is a game” from the Game Bar dropdown menu. Regardless of whether you’re recording a video game or an app, this is how you do it.
To begin recording the video, click Start Recording (or press Win + Alt + R).
If you want to stop recording, click on the red recording bar at the very top right of the program’s window. Game Bar (Press Win + G again to bring it back if it vanishes on you).
It’s done! Your recorded videos, which are in the form of mp4 files, may be found under a subdirectory named Captures in the Videos folder. To share a video on Xbox Live, you’ll need to use the Game DVR feature in the Xbox app, which you can access from the Video Sharing menu.
Screen Recording in OBS Studio
With Windows 10 and Windows 11’s built-in Xbox Gamebar, screen recording is limited to one program at a time, and the Windows desktop and File Explorer aren’t included in the recording. OBS Studio screen recorder Windows 10 is our favorite third-party program for capturing your full desktop and all the windows it contains.
Because it’s free and fantastic at broadcasting games to Twitch and other sites, OBS Studio is quite popular in the game streaming community. You may also use OBS to capture the complete Windows 11 screen and export it as an MP4 file without broadcasting anything.
- OBS Studio must be downloaded, installed, and launched. The first time you run OBS for the first time, it will ask you whether you want to optimize it just for streaming or recording. Choose “Optimize just for recording.” if you don’t intend to stream.
- Add a new source by clicking the Plus symbol beneath the Sources section.
- Display Capture should be selected.
- The dialog box that appears will ask you to confirm your choice. If you choose, you may rename the source to anything other than Display Capture.
- Once you’ve selected a display, click OK. With several monitors, you might have OBS running on one while recording on the other. There’s just one option if you only have one display.
- In the bottom right corner of the screen, click the Start Recording option.
- When screen recording from the same monitor as OBS, minimize OBS.
- When you’re done, use the Stop Recording button in OBS.
Conclusion
In Windows 10 by default, your screen recording movies are stored in the Videos folder. They are saved in the.mkv file format by default. OBS’s Settings->Output menu allows you to choose between MP4 and MOV as your output format. Hopefully, you will find this guide helpful.


