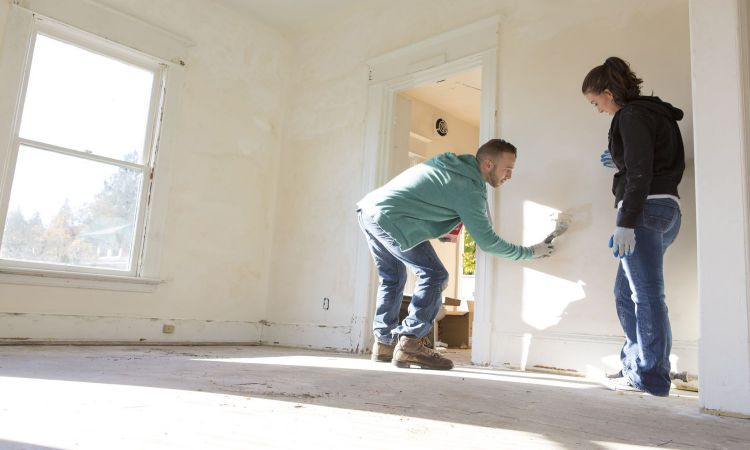
 Wear and tear are inevitable in any home, and damaged walls are common. Whether it’s due to accidental bumps, water leaks, or simply the passage of time, a damaged wall can be unsightly and compromise the integrity of your home’s structure. Fortunately, repairing a damaged wall is a manageable task that you can tackle with the right tools and techniques. In this guide, we’ll walk you through the steps to effectively repair a damaged wall in your house, restoring both its appearance and functionality.
Table of Contents
Step 1: Assess the Damage
The first step in repairing a damaged wall is to assess the extent of the damage. Is it a small hole, a crack, or a larger area that needs attention? Pinpoint any underlying issues, such as water damage or structural issues, that might have caused the damage. Understanding the scope of the problem will help you determine the appropriate repair method and materials needed. If the damage to your wall seems too complex or time-consuming to tackle on your own, or if you simply lack the necessary skills or tools, hiring a handyman or professional contractor may be the best option. My St Albans Handyman offer property maintenance, and they can assess the damage, provide expert advice on the best course of action, and complete the repair efficiently and effectively.
Step 2: Gather Your Tools and Materials
Once you’ve assessed the damage, gather the necessary tools and materials for the repair job. You’ll typically need items such as spackling compound or joint compound, sandpaper, a putty knife, paint primer, and paint that matches the current wall color. Depending on the severity of the damage, you may also need additional supplies such as drywall patches or mesh tape.
Step 3: Prepare the Surface
Before you begin the repair, prepare the damaged surface by removing any loose debris, dust, or old paint. Use sandpaper to smooth down the rough edges and create a clean, even surface for the repair materials to adhere to. If the damage is extensive, you may need to cut away damaged drywall and install a patch before proceeding.
Step 4: Fill and Smooth
Using a putty knife, apply spackling or joint compound to fill in cracks, holes, or other damaged areas. Work the compound into the damaged area, ensuring it is fully filled and smoothed out. You might need to apply multiple layers for larger holes or cracks, allowing each layer to dry completely before applying the next. Once the compound is dry, sand the repaired area until it is smooth and flush with the surrounding wall surface.
Step 5: Prime the Surface
Before painting, apply a coat of paint primer to the repaired area. Primer helps to seal the repair and creates a uniform surface for the paint to adhere to. Allow the primer to dry completely according to the manufacturer’s instructions before proceeding to the next step.
Step 6: Paint the Wall
Once the primer is dry, paint it to match the existing wall color. Use a roller or brush to apply an even coat of paint, feathering the edges to blend seamlessly with the surrounding wall. Depending on the type of paint and the extent of the repair, you may need to apply multiple coats for full coverage and a uniform finish.
Step 7: Finishing Touches
Once the paint is dry, step back and inspect the repaired area. Make any necessary touch-ups or adjustments to ensure a seamless finish. If the repaired area still stands out, consider repainting the entire wall for a more cohesive look. Finally, clean up your work area and dispose of any leftover materials properly.


