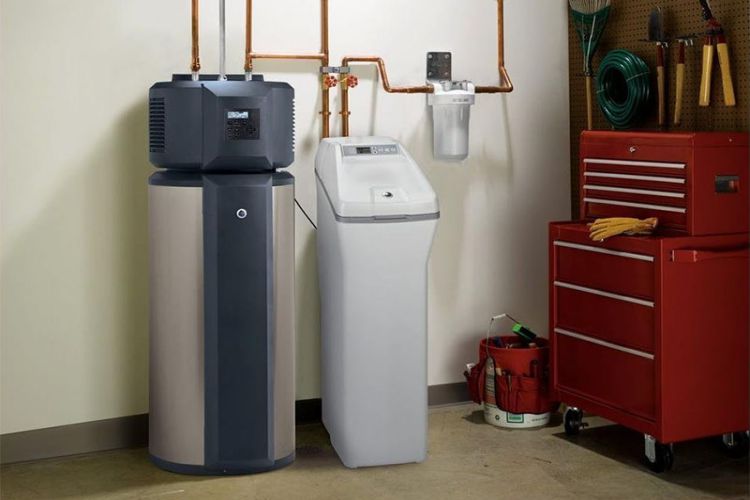
 Hard water can cause a range of issues in your home, from clogged pipes to a build-up of mineral deposits that can damage appliances and fixtures. The solution? A water softener.
Water softeners help remove minerals such as calcium and magnesium from the water, making it easier to clean and use. Here is a 6-step guide on how to properly install a water softener in your home:
Table of Contents
1. Understand the benefits of soft water
Before you make any decisions, it’s important to understand what hard water is and why you may need a water softener.
Hard water has high levels of minerals like calcium and magnesium, which can cause a variety of issues such as clogging up pipes over time or leaving behind mineral deposits after showers or dishwashing. Some homeowners are wary of installing a softener due to the fear of drinking softened water.
Fear not! Softened water is safe to drink. If you need to limit your sodium intake, there are salt-free systems available.
2. Consider your home’s needs
Think about the size of your home, what type of plumbing you have, and how many people are living in the house to determine what type of water softener will serve your needs best.
For example, salt-based systems may be better for larger homes with a higher number of occupants since they require less maintenance than mechanical models; however, if you only have one bathroom then an ion exchange system may be more suitable due to its small size and ease of use!
3. Compare different types of water softeners
Now that you know your home’s needs, it’s time to explore different types of water softeners available on the market today so you can decide which one fits best for your circumstances. Research prices, features, maintenance requirements, installation costs, etc before making any decisions!
Not all water softeners are created equal. From ion exchange systems to salt-based models, there are a variety of different types of water softeners available on the market today. To help you with your decision, we’ve compiled a list of four different types of water softeners:
Ion Exchange Systems
Ion exchange systems are most commonly used in single-bathroom households and feature an efficient and effective method for removing hard minerals from water. They use beads made of resin as their medium for softening, which can be replaced periodically when needed, making them low maintenance and easy to use.
Salt-Based Systems
Salt-based systems are more suitable for larger homes with a higher number of occupants since they require less maintenance than ion exchange systems.
They use salt tablets to dissolve hard minerals in the water, allowing them to pass through the system before being re-filtered during the process. While they usually cost more initially, over time they may prove to be more economical due to lower electricity costs!
Reverse Osmosis Systems
These systems work by using pressure to force impurities through a reverse osmosis membrane which filters out any remaining contaminants in the water before it goes into your home’s plumbing system.
While it may take up a bit more space than other methods due to its extra components, it yields some of the purest-tasting water available!
Magnetic Softener Systems
Magnetic softener systems use magnetic fields to reduce dissolved calcium and magnesium ions in hard water without chemicals or electricity usage – perfect if you want an eco-friendly option that won’t add any additional costs to your energy bill!
However, these systems tend to work best at short distances from the point at which they’re installed so make sure you factor this into consideration when planning where you’ll place yours!
4. Measure your plumbing system
Take accurate measurements before buying any equipment so that you know for sure it will fit into its designated space when ready for installation! Measure dimensions like pipe diameter and length carefully – this will save valuable time during the installation process later down the line post-purchase!
5. Install the Water Softener
Follow instructions carefully when it comes to setting up the water softener and connecting it to your home’s plumbing system – incorrect connections could lead to future leaking issues so always double-check before turning the machine on!
It also helps if there’s someone around who has experience as they can offer invaluable guidance during the process saving headaches and troubleshooting later!
6. Call a plumber
To install a water softener system in your home, it is important to seek out the help of a professional plumber. Attempting to install the system on your own can lead to costly mistakes and potential damage to your home’s plumbing system.
With a professionally installed system, you can be sure that your hard water problems will be gone for good and that your home’s plumbing will remain safe from potential harm. So, when in doubt, call a plumber – it’s always worth the extra care!
7. Test Your New System
Once setup is complete, test out the new system using a hardness test kit– using the right amount of drops onto surface paper should result in a certain color indicating whether everything is working correctly or not; this way ensure no nasty surprises further down the line functioning optimally now tomorrow forevermore!
Conclusion – A step-by-step guide to installing water softeners
Overall, it’s important to make sure the installation of your water softener unit is done properly and without fault.
However, due to the complexities of installing a water softener, if you’re uncertain about any of the information that has been covered in this post or feel overwhelmed by the task, do not hesitate to call a professional.
A plumber can help guide you through the process and ensure that everything is installed correctly and safely.


